After networking with a lot of people on LinkedIn and Discord, I have the idea of setting up a cybersecurity home lab to gain hands on experience. I started off with building a centralized Ubuntu desktop.
Here I’ve followed the steps on how to build a centralized Ubuntu desktop for a cybersecurity home lab from cybercademy.org: https://cybercademy.org/building-a-centralized-ubuntu-desktop-for-a-cybersecurity-homelab/
The Hardware
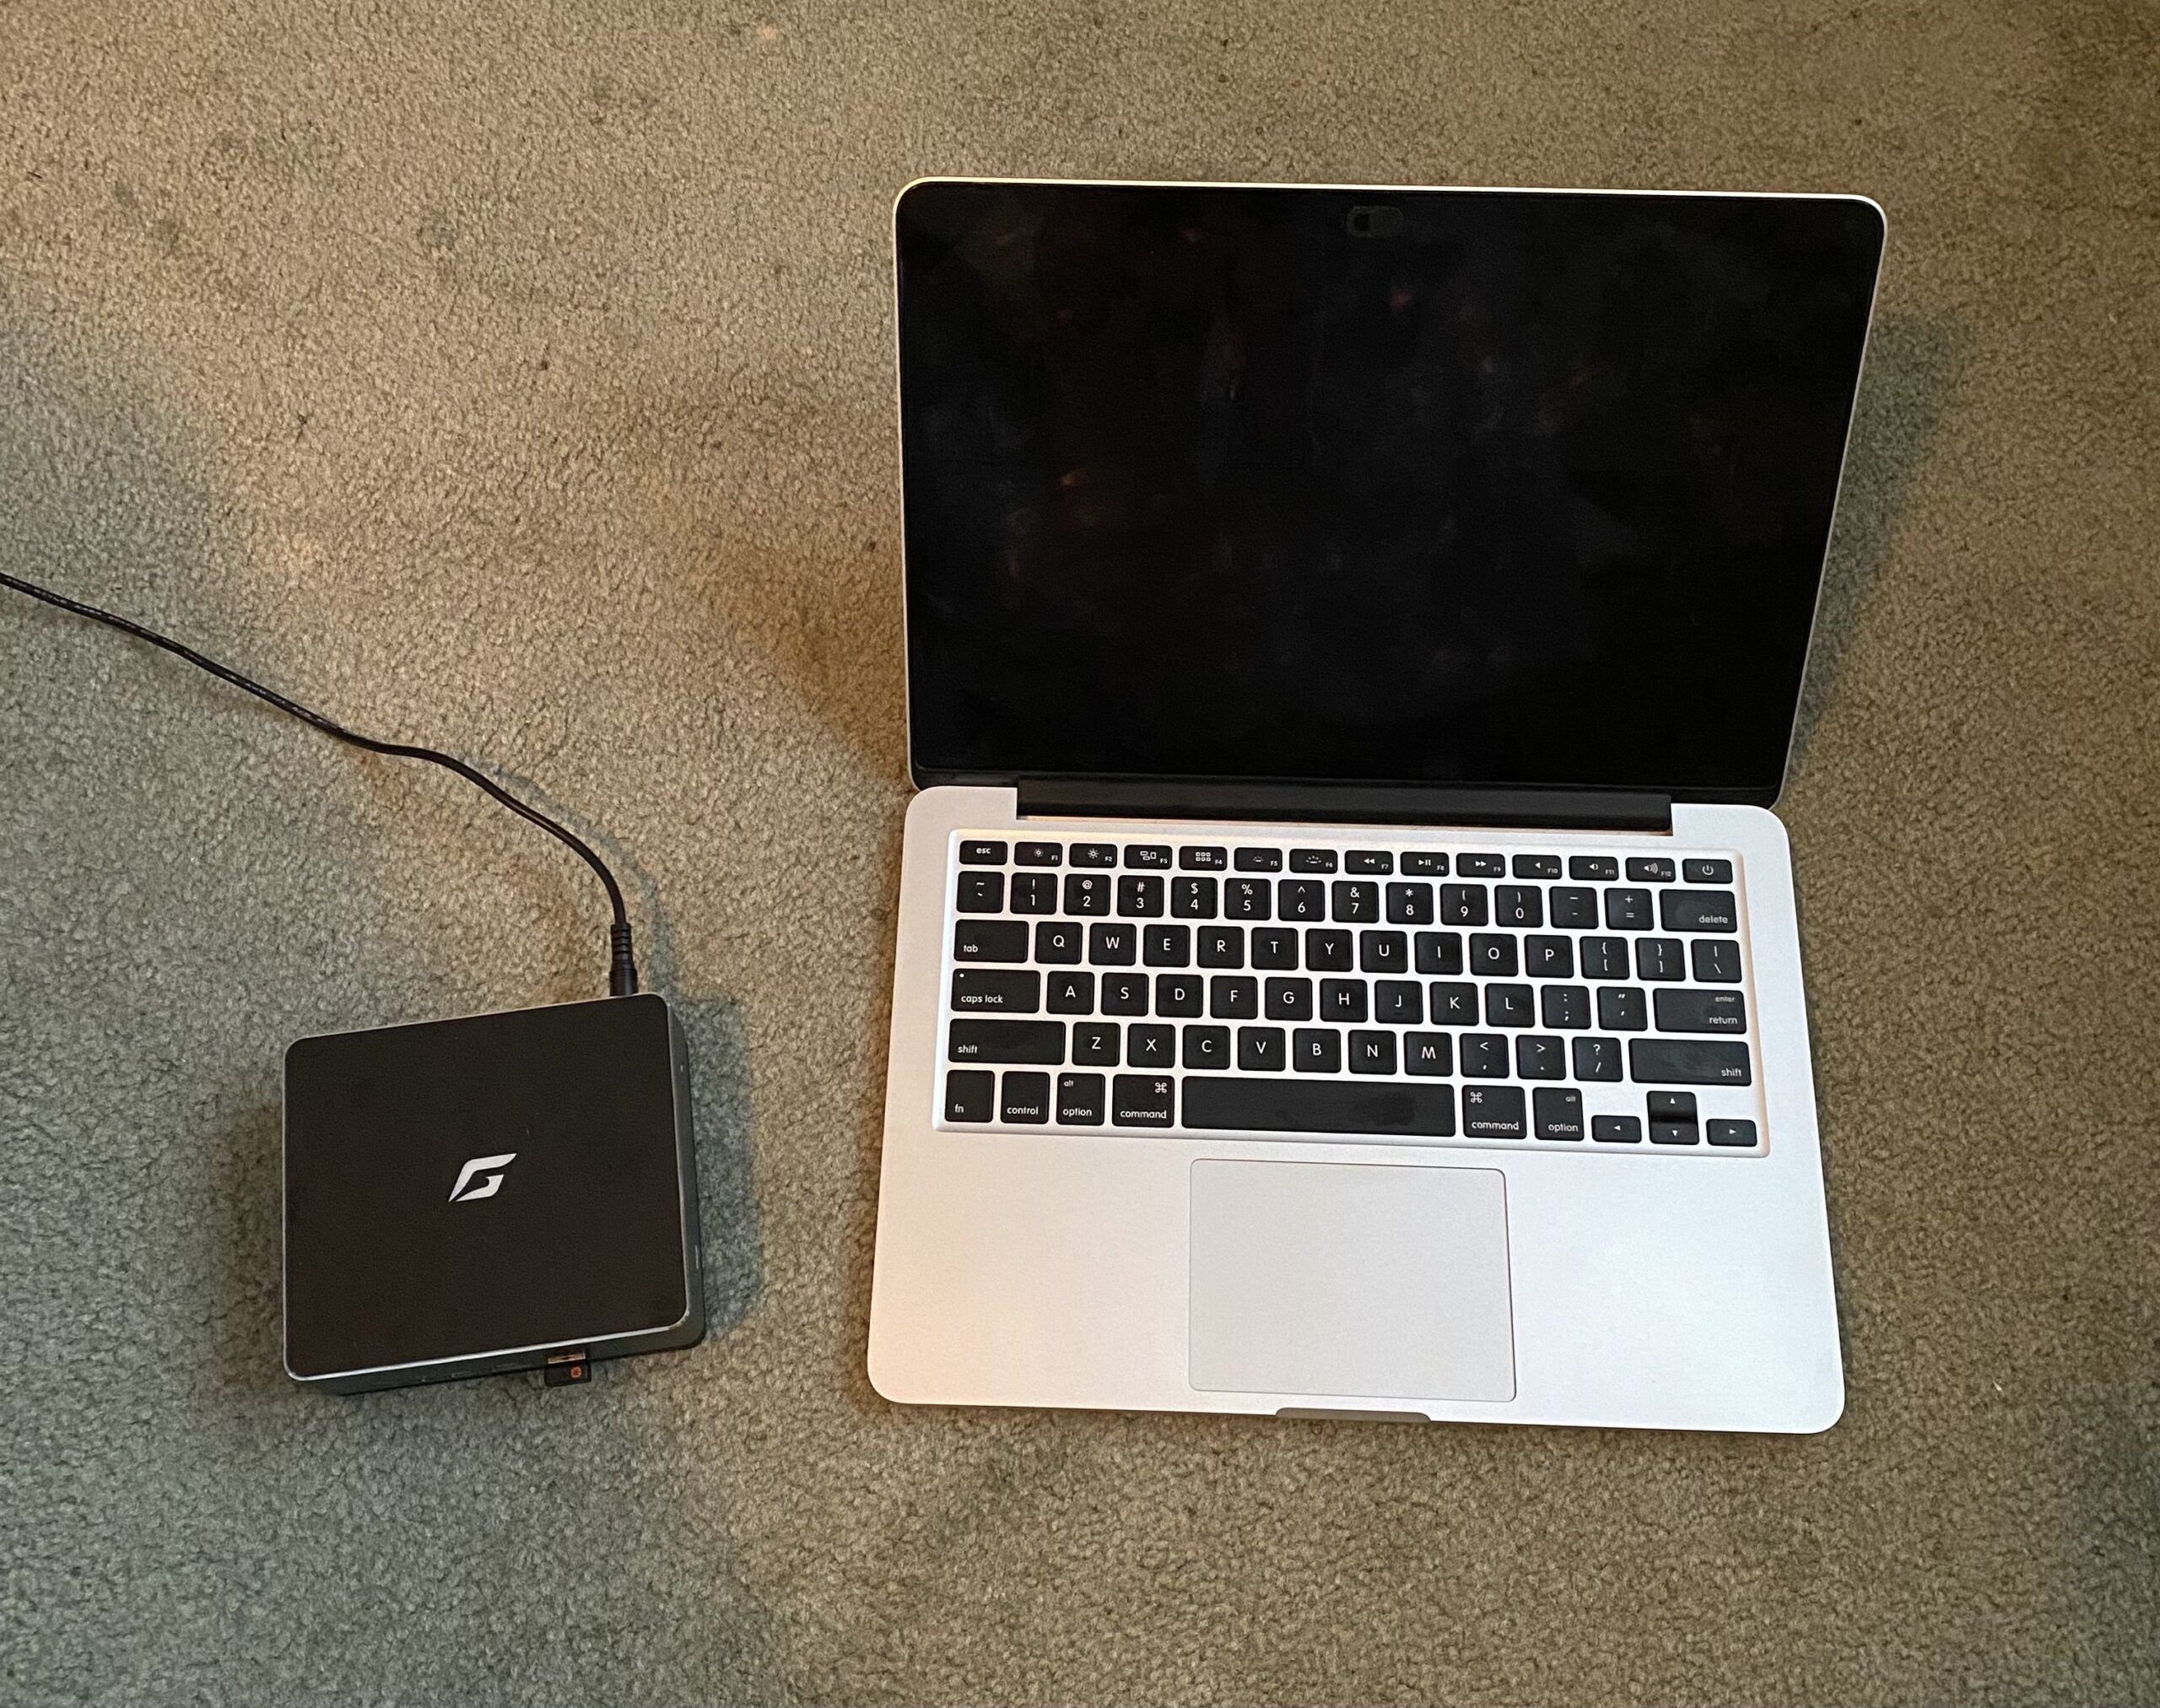
Since I couldn’t add more than 512 MB of storage space on my old Dell PC, I’ve bought a Cybergeek nano J1 Linux mini PC from Amazon:
https://www.amazon.com/dp/B0CBQV86VD?ref=ppx_yo2ov_dt_b_product_details&th=1
I also bought a blank USB stick which has to be at least 8GB (I bought a 64GB since I was unable to find a 16GB or a 32GB individually) and I asked my internet provider for an HDMI cable.
Configuring the Mini PC
- Using Windows bootcamp from my MAC laptop, I downloaded the Ubuntu 22.04 ISO image from the Ubuntu website.
- Then I installed a Windows only program called Rufus, which is an extractor for ISO images to make the blank USB drive a bootable one.
- I connected my mini PC to the television using the HDMI cable and plugged in the bootable USB drive and then I turned on my mini PC.
I knew that the PC already came with Ubuntu. Out of curiosity, I still wanted to learn how to create a bootable USB stick and I wanted to ensure that the PC has the latest version. I also tested out the stick on my MAC laptop and Ubuntu appeared but I didn’t install it, I selected the “try” option, considering the storage on my laptop. With this USB stick, adding Ubuntu to more PCs will be much easier.
The connection between the laptop and the mini PC
I’ve established a secure shell connection between Windows OS to Ubuntu OS using PuTTy, which established a remote connection to Ubuntu’s terminal. I figured out the IP address for the mini PC and I placed that IP address into PuTTy and selected the SSH option. I also found out how I can establish a remote connection using a graphical user interface (GUI).
I installed the RealVNC server onto my Ubuntu desktop and installed the RealVNC viewer from my Windows desktop. VNC is Virtual Network Computing. Since I am building a centralized Ubuntu desktop, I have to have all servers installed on my Ubuntu OS. From my Windows, I was able to establish a secure remote connection from my Windows to Ubuntu using a GUI.
Downloading VMWare
The last step I’ve done to build a cybersecurity home lab is installing VMWare, which is a virtual machine where I can activate many operating systems. In simpler terms, it is a program where you can install and activate one or more operating systems. It’s like having several computers into one program.
Conclusion
Throughout this experience, I’ve learned how to put together a cybersecurity home lab. Since I’ve learned how to create a bootable USB drive, I am able to install Ubuntu onto any computer even if it’s a legacy system since cybercademy.org mentioned using an old PC or gaming system. As long as the system has the right amount of RAM and SSD storage on it, I can install Ubuntu with the bootable USB drive.
Plus, any server that you download must always be downloaded and installed on your centralized desktop. Anything you want to control from, that’s where you download the viewer.